Your first step is to install Decent Sampler. You can download the installer from here. A full Windows installation guide can be found here. Once you’ve installed the plugin, you can open up FL Studio.
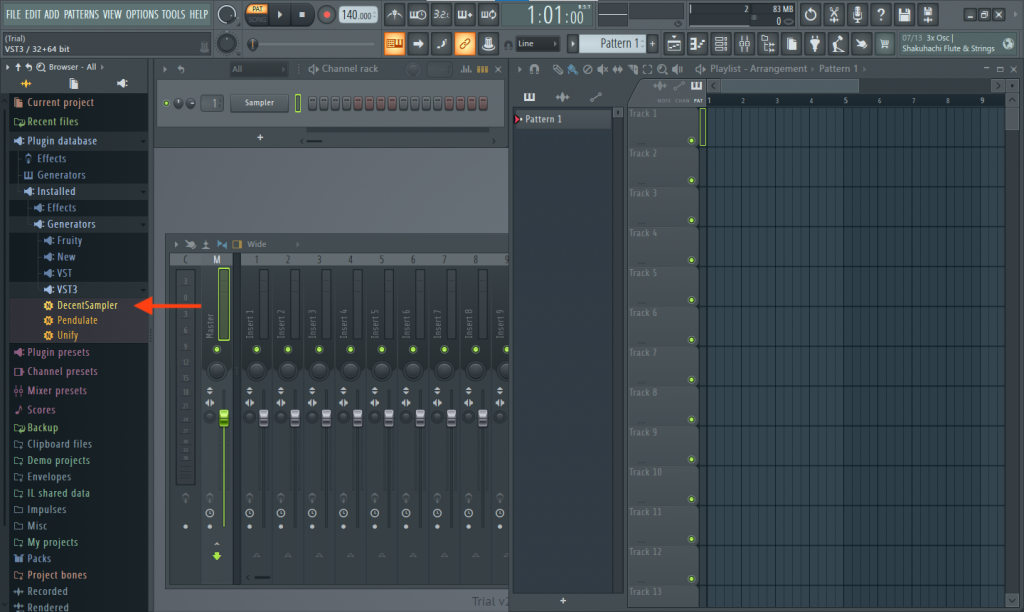
You should be able to find Decent Sampler by drilling down in the menu on the left-hand side: Plugin database > Installed > Generators > VST3:
If you don’t see DecentSampler in this list, you’ll want to force FL Studio to rescan your plugins. To do this, select Options > Manage Plugins from the menus at the top of the screen. A dialog box will pop up:
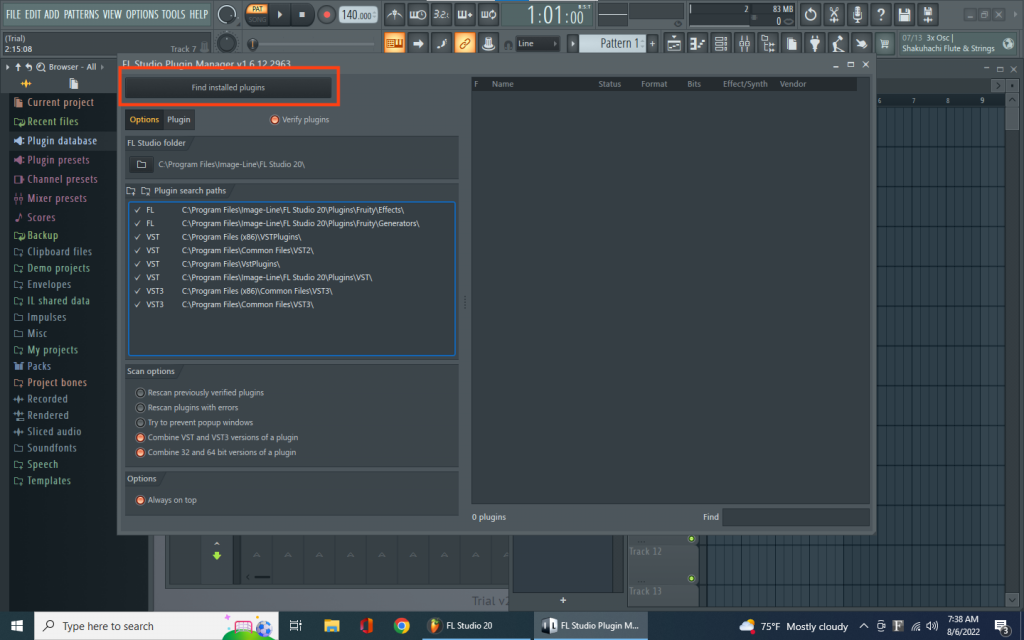
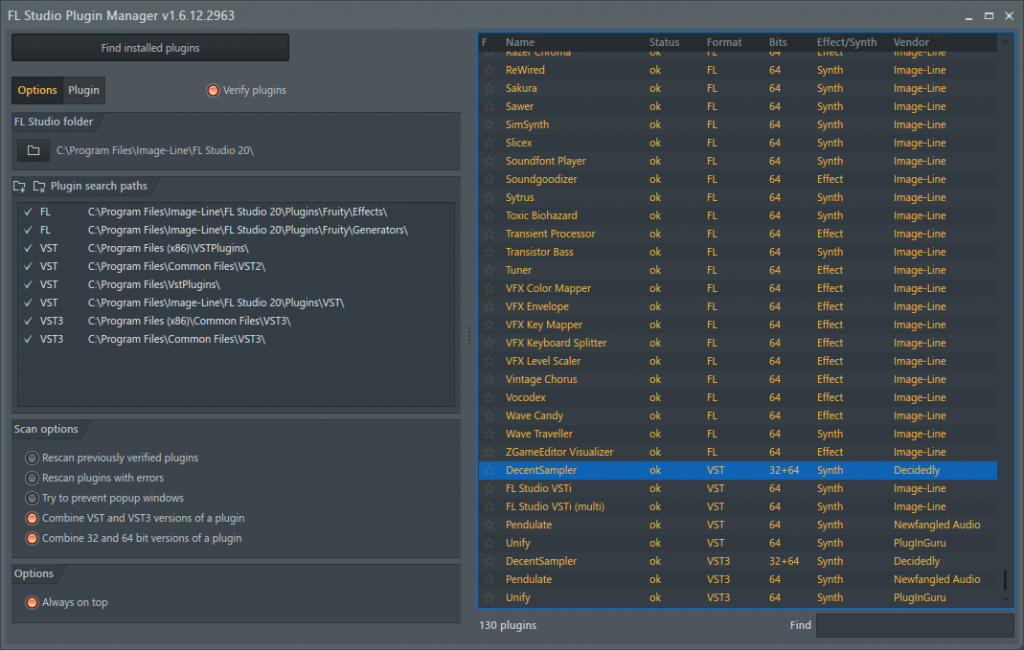
Once you’re on this screen, click the Find installed plugins button in the top-left corner. This process could take a few minutes depending on how many plugins you have installed. Once the process is done, you should see a list on the right-hand side and that list should include DecentSampler:
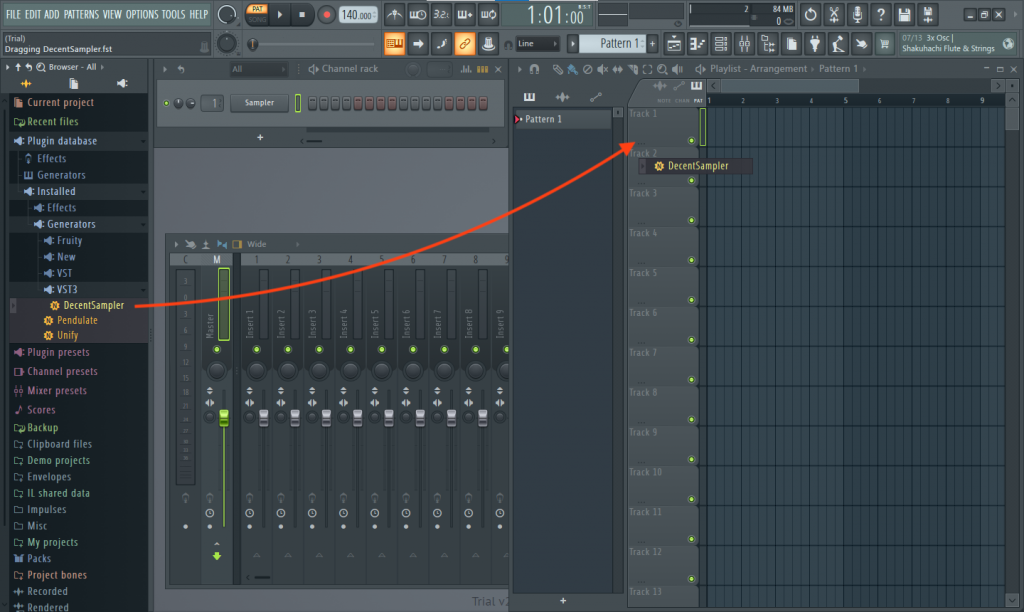
Close this window. You are now ready to make music using Decent Sampler. From the left-hand menu, drill down into Plugin database > Installed > Generators > VST3. Grab DecentSampler and drag it onto one of the track on the right-hand side of the screen:
The Decent Sampler plugin window will pop up:
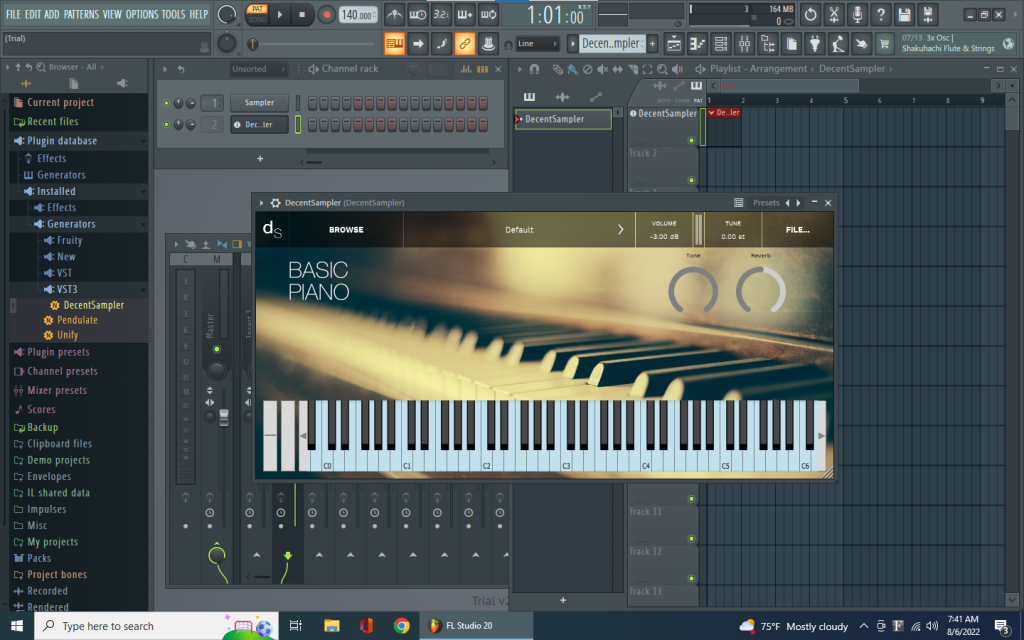
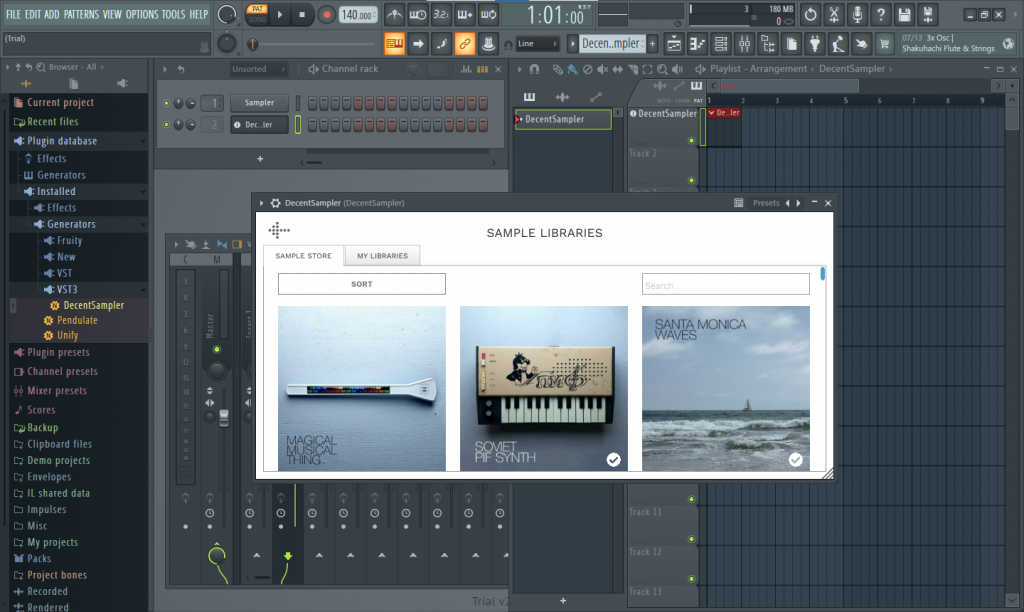
If this is your first time launching the plugin, you will be prompted to create Decent Samples account and select a location for your sample library. Once that is complete, you are free to load whatever DecentSampler library you want within the plugin. A selection of libraries can be found by clicking the BROWSE button:
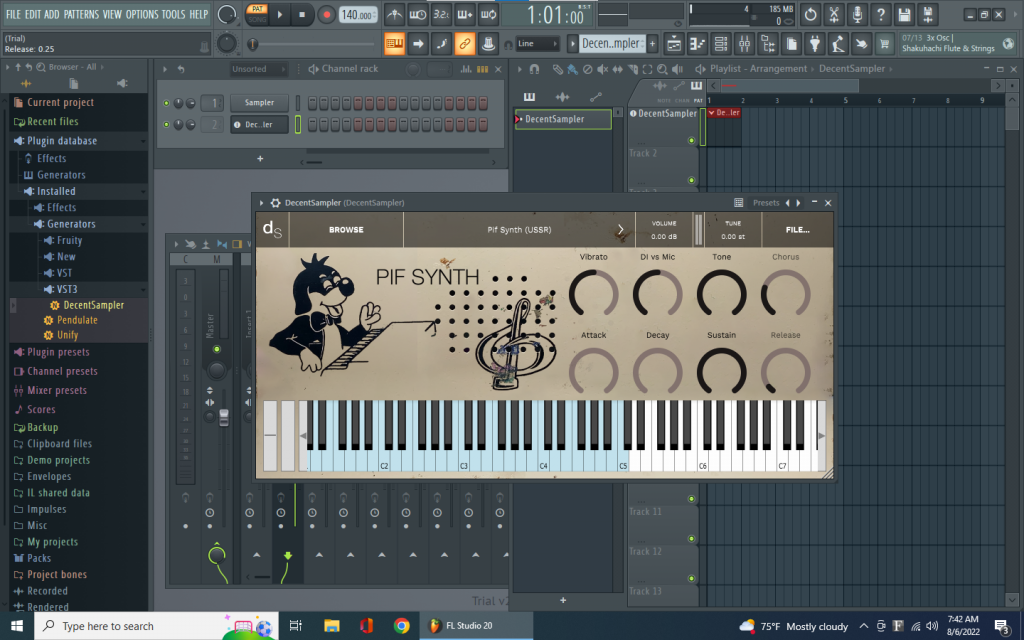
In this screenshot, I’ve loaded Decent Samples’ own Pif Synth sample library:
The other way you can load presets is by simply dragging presets you downloaded elsewhere onto the plugin window. Once you’ve loaded your preset, which you can then use just as you would any other virtual instrument.
Enjoy!