Well, it finally happened, version 1.7.0 of Decent Sampler introduces the concept of buttons to the world of Decent Sampler. To make a button in you user interface, simply use a <button> element:
<button x="10" y="40"  width="120" height="30" style="image" value="0" mainImage="samples/ButtonMainImage.png" hoverImage="samples/ButtonHoverImage.png" clickImage="samples/ButtonSelectedImage.png">
    <!-- Your button states go here. These are defined using the <state> element. -->
</button>
Code language: HTML, XML (xml)
There are two types of buttons: text and image. The value of the style attribute determines which kind of button gets created.
Text Buttons
Text buttons are pretty basic, they look like this:
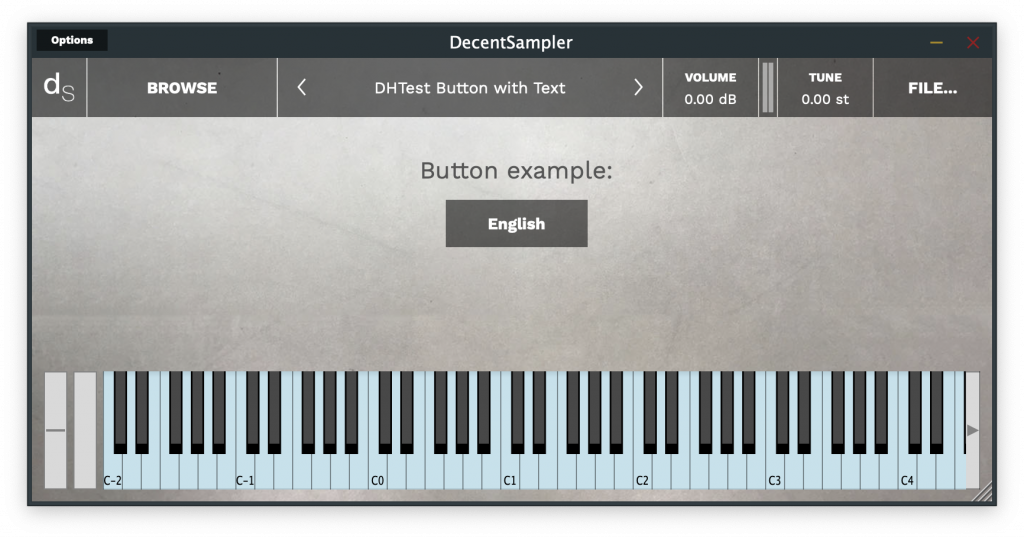
Here is the code for this button:
<button x="350" y="70"  width="120" height="40" style="text">
  <state name="English">
    <!-- Bindings go here -->
  </state>
  <state name="French">
    <!-- Bindings go here -->
  </state>
</button>
Code language: HTML, XML (xml)
As you can see, the actual text that gets displayed is defined in the name= parameter of each <state> element.
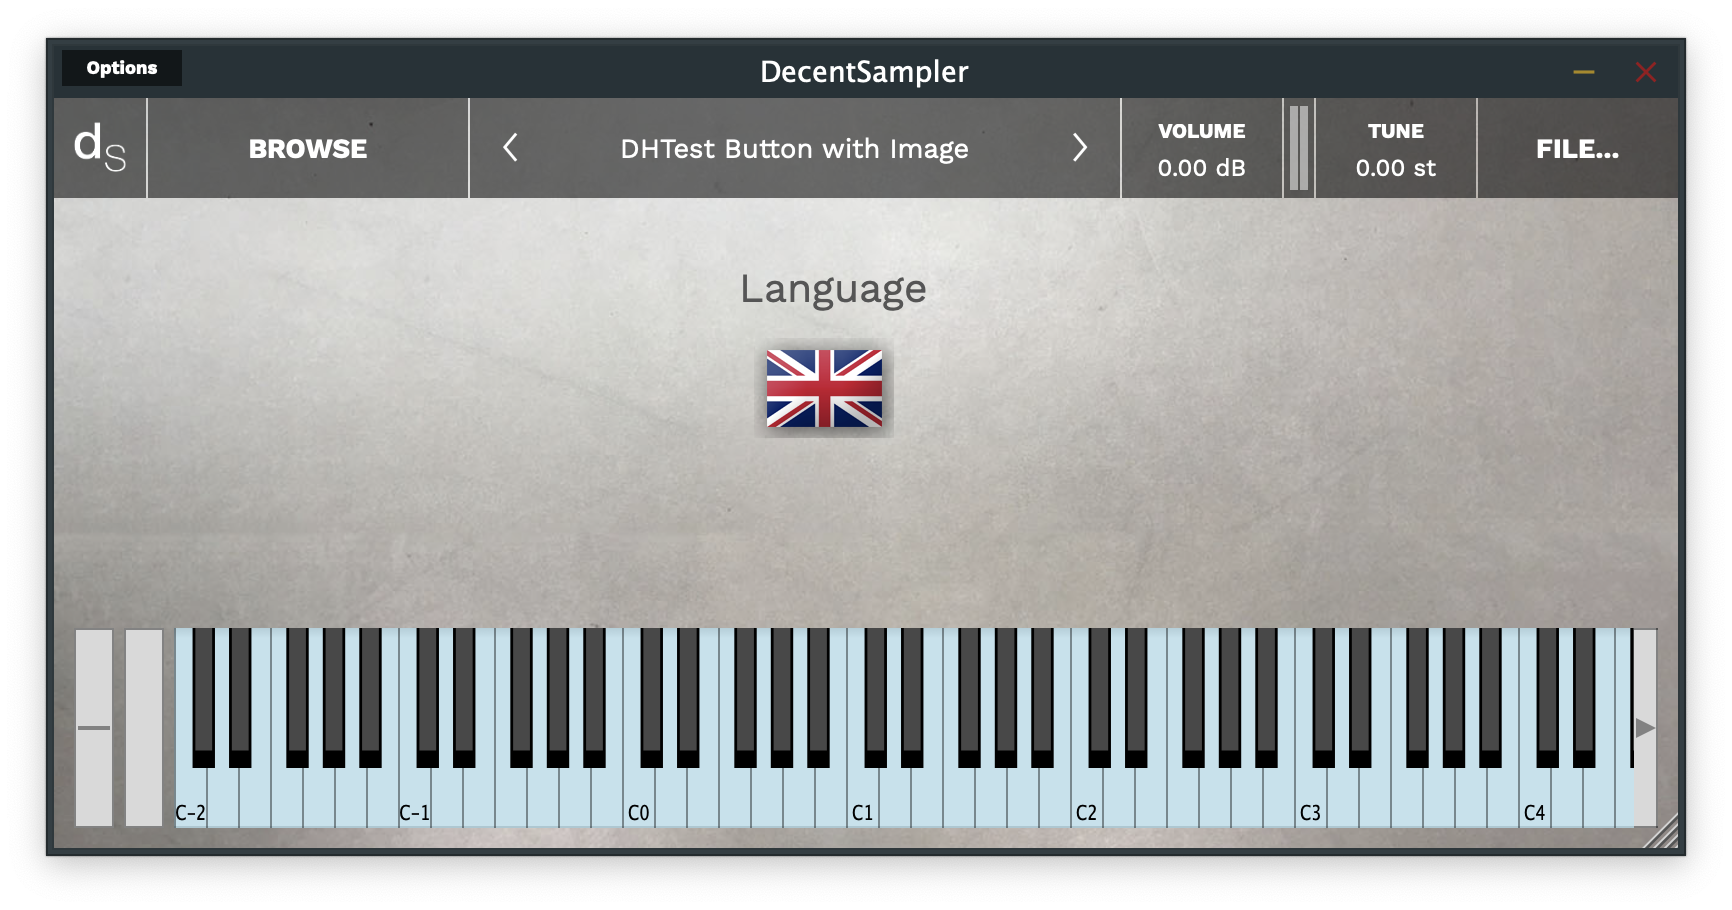
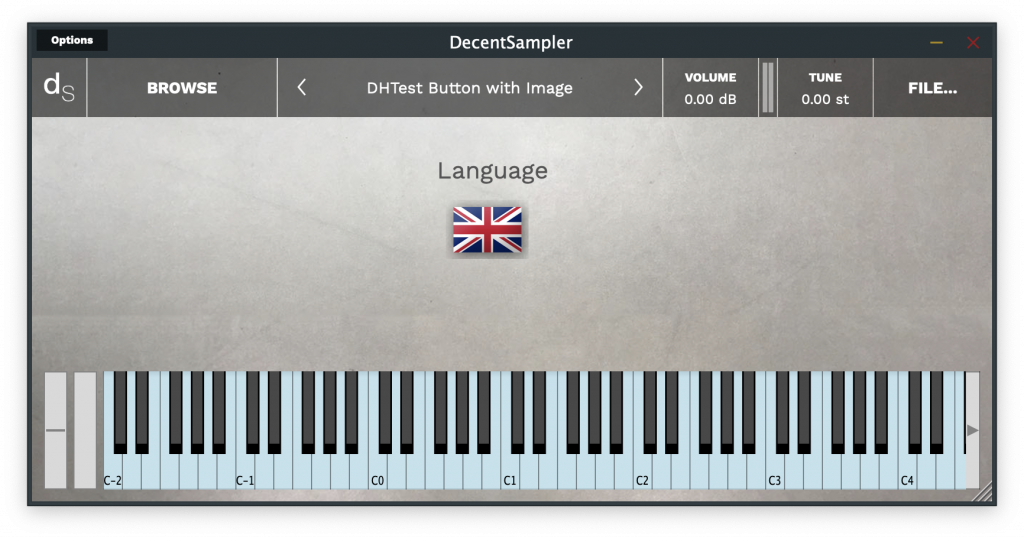
Image Buttons
Now, let’s look at the image button. Here, you can use any image you want (even these ugly flag buttons I made in about 20 seconds in Photoshop):
The code for this button is as follows:
<button x="350" y="70"  width="70" height="50" style="image" value="0" >
    <state name="English" mainImage="samples/EFlag_MainImage.png" hoverImage="samples/EFlag_HoverImage.png" clickImage="samples/EFlag_SelectedImage.png">
    </state>
    <state name="French" mainImage="Samples/FFlag_MainImage.png" hoverImage="Samples/FFlag_HoverImage.png" clickImage="Samples/FFlag_SelectedImage.png">
    </state>
</button>
Code language: HTML, XML (xml)
As you can see, each <state> has three image parameters. Only the first one, mainImage, is required:
mainImage | The path of the main image to display for this button. This can also be set at the state level so that it only applies to a specific state. (required) |
hoverImage | The path of the main image to display when the user hovers their mouse over this button. This can also be set at the state level so that it only applies to a specific state. (optional) |
clickImage | The path of the main image to display when the user clicks down on this button. This can also be set at the state level so that it only applies to a specific state. (optional) |
Bindings
Of course, if you want your buttons to actually do something, you’ll need to put <binding> elements underneath the <state> elements:
<button x="350" y="70"  width="120" height="40" style="text">
  <state name="English">
    <binding type="general" level="group" position="0" parameter="ENABLED" translation="fixed_value" translationValue="true" />
    <binding type="general" level="group" position="1" parameter="ENABLED" translation="fixed_value" translationValue="false" />
  </state>
  <state name="French">
    <binding type="general" level="group" position="1" parameter="ENABLED" translation="fixed_value" translationValue="true" />
    <binding type="general" level="group" position="0" parameter="ENABLED" translation="fixed_value" translationValue="false" />
  </state>
</button>
Code language: HTML, XML (xml)
As you can see, the example above uses a button to switch between two groups. You’ll note the liberal use of the fixed_valuetranslation mode above. This means that when any of these options are selected, a fixed predetermined value is used for the value of that binding.
Conclusion & Examples
OK. I think that’s it. You can download the examples used in this blog post here. If you find any bugs having to do with buttons, make sure you report them here.
Hi, just wondering if a button can be used to show/hide various controls on the GUI?
Just to say I figured something out, just in case it’s useful to anyone else, I thought I’d share it here. There’s 3x controls being shown/hidden in this example but this could be scaled by adding additional bindings to each state.